
Table of Contents
Disclaimer : “It works on my machine”. I am a noob at N8N, and I was looking for a simple step by tutorial for total dummies with self hosted N8N, and couldn’t find one. So I figured I’d write one. It isn’t rocket science, on the contrary.
What are we going to make ?
We are going to post a JSON body with ‘firstname’ to a webhook on our local machine, N8N puts the firstname in a prompt to Groq (in my case to make a quatrain about “firstname”), and then the workflow automation app creates a new WordPress post with the Groq output as content.
(spoiler) That would normally take five minutes, ten minutes, and now it takes 5 seconds. Easy peasy.
N8N workflow automation
N8N is a platform much like Zapier or Make. Their USP is “Secure, AI-native workflow automation”. You can install a local self hosted N8N version. It requires Docker. Assuming you managed to get N8N running local, currently you get this screen when you add a new workflow :
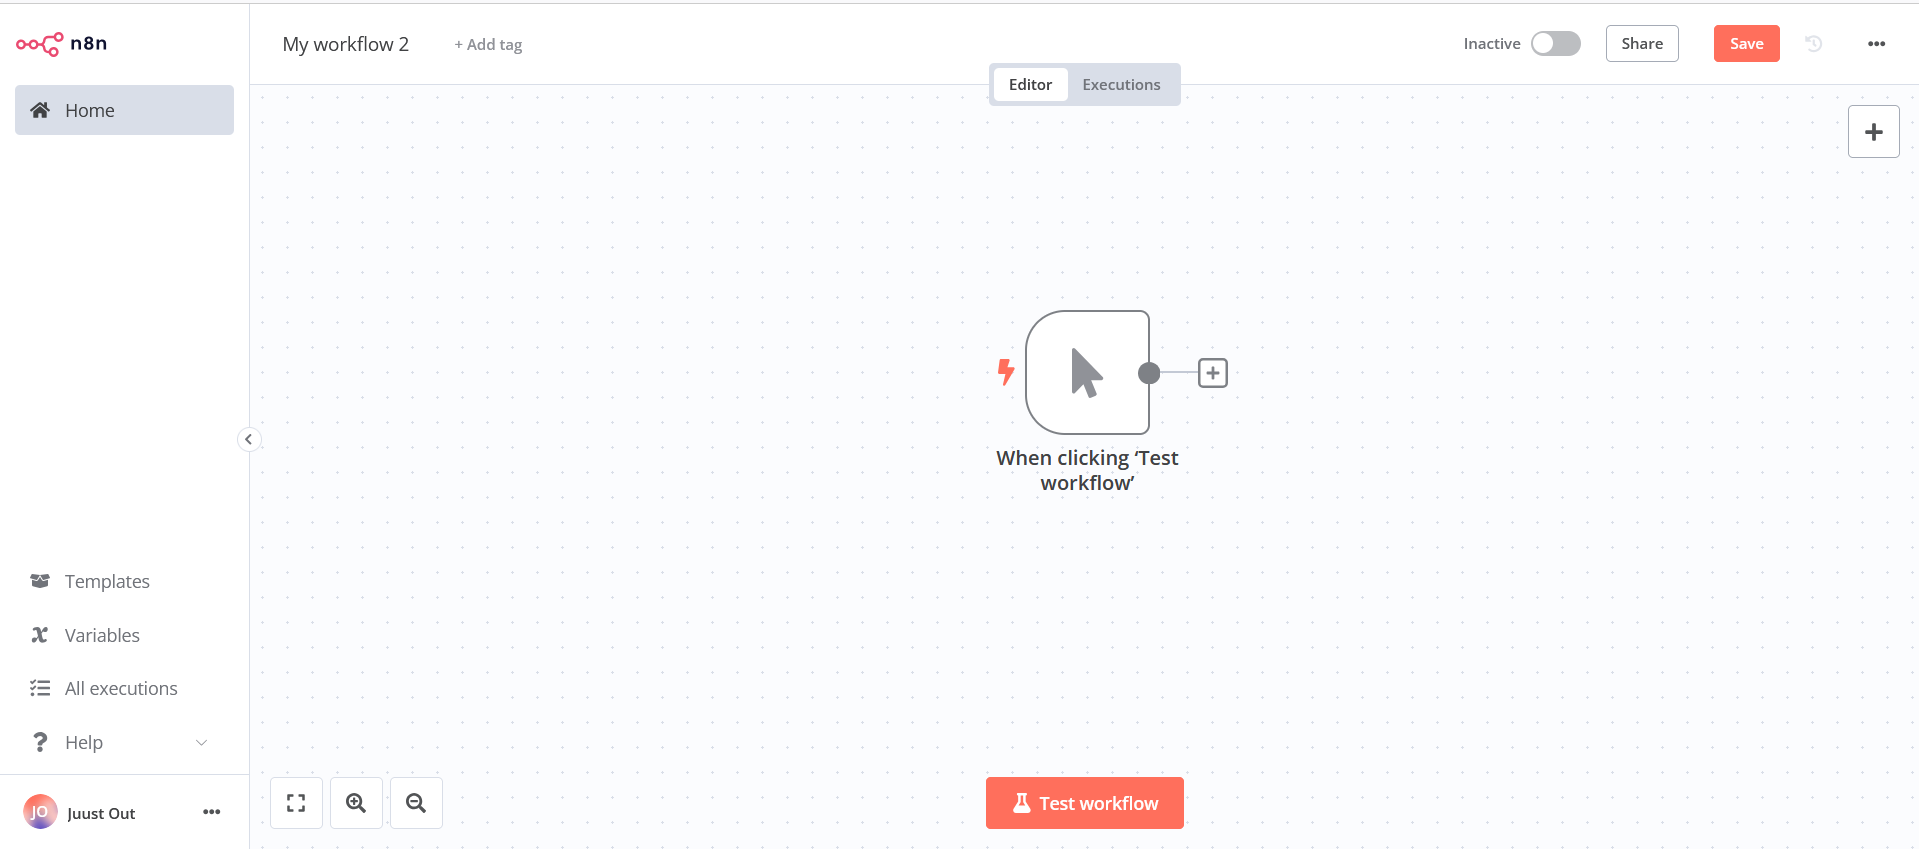
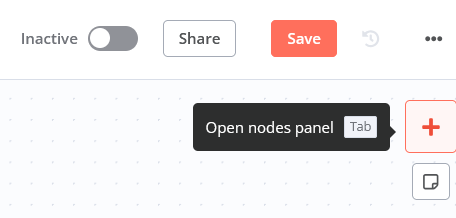
in the right upper corner you can open the list with ‘nodes’ : all the elements, services, api’s, javascript functions you can add to the workflow canvas
Adding the Webhook
We start by adding our webhook, to which we post our JSON firstname later.
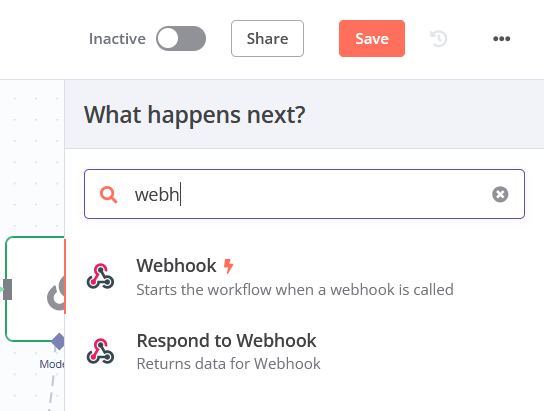
You can find nodes quickly using search, we start with the webhook.
That gives us a webhook node in the canvas. Click on the node to open the properties screen :
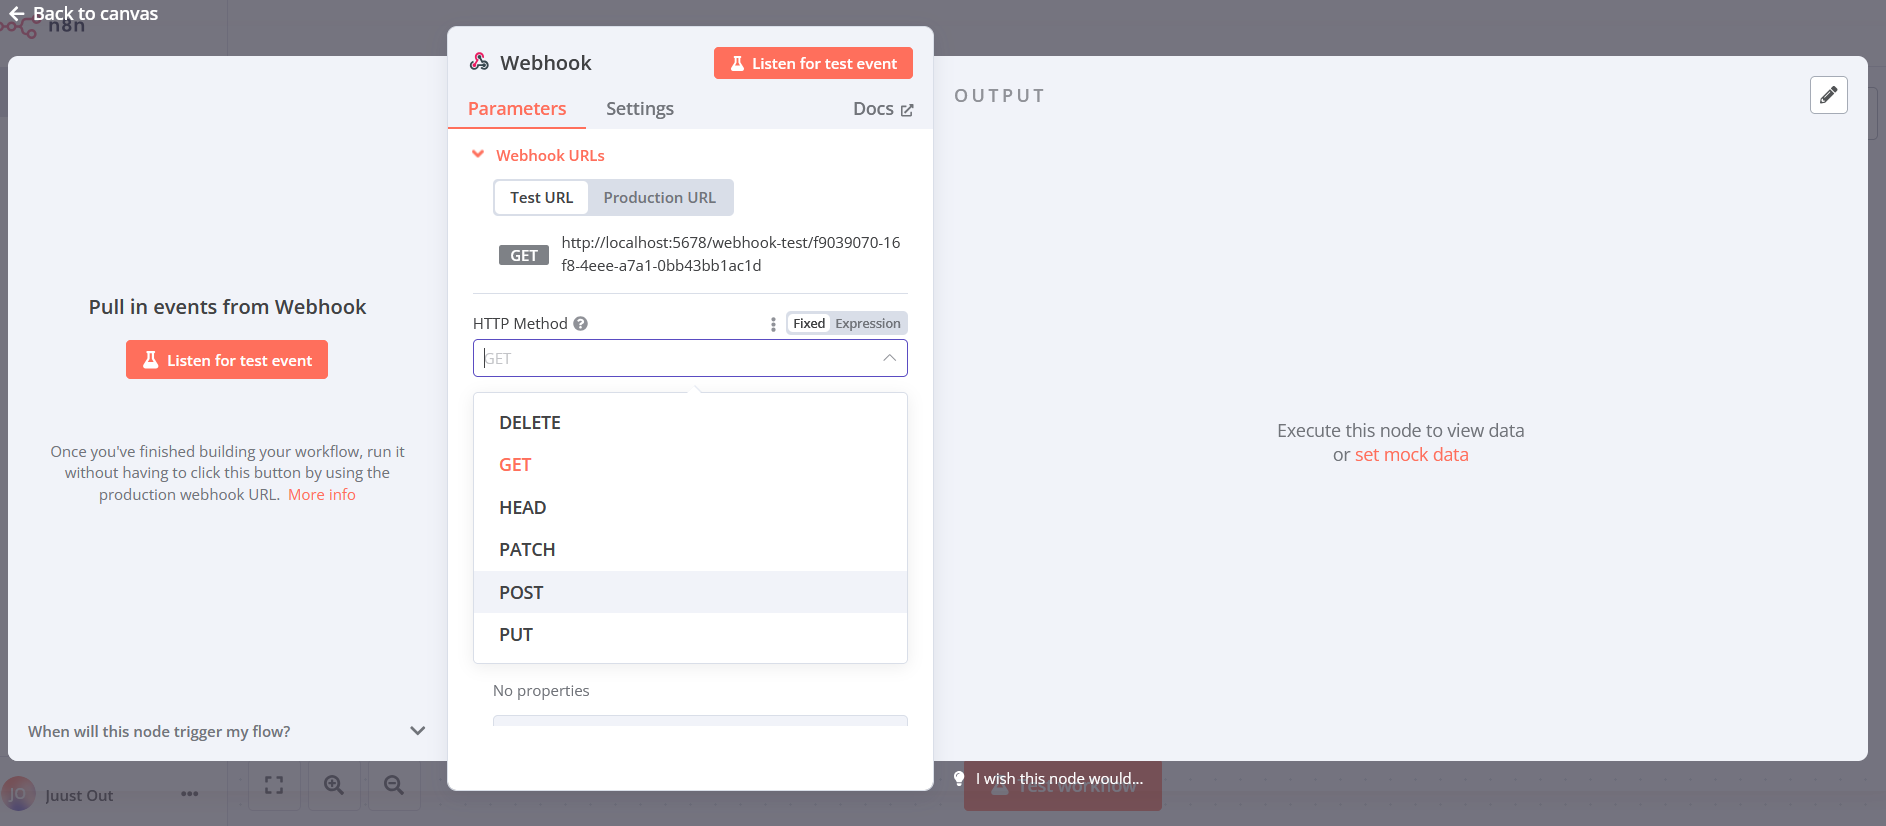
Make sure you select the POST method. Then, on the left, click ‘listen for test event’ (that activates the webhook test url, N8N will start listening to it.
Postman test post
In Postman you can make a simple POST to the test URL with a JSON body payload :
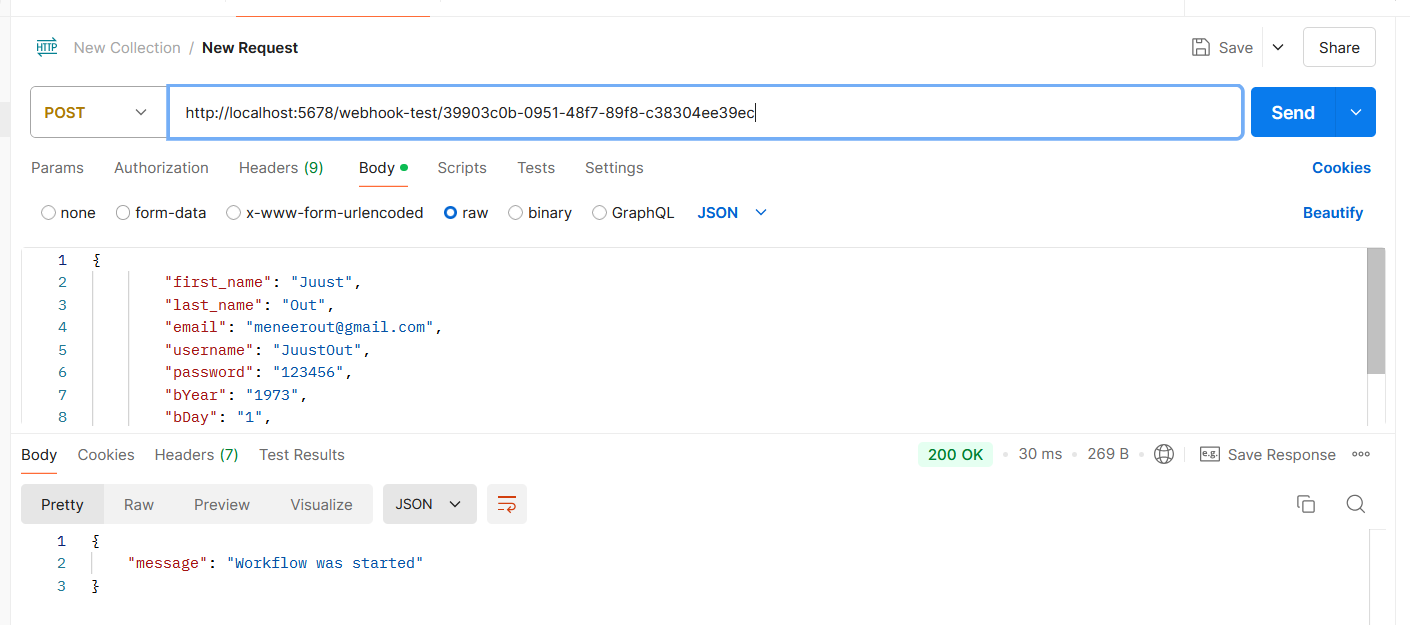
You should get the response message “workflow was started”.
Adding the Basic LLM Chain
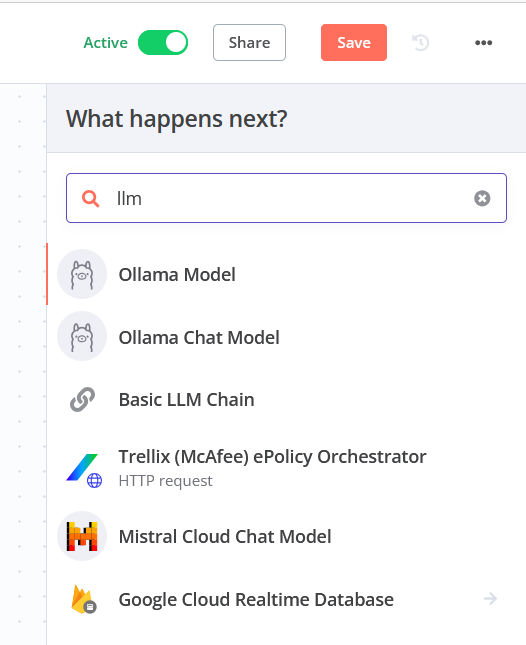
Next node we add is the Basic LLM Chain. Click on the big + in the right upper corner of the canvas screen and search ‘llm’. The Basic LLM Chain node is in the list. Click to add it to the canvas.
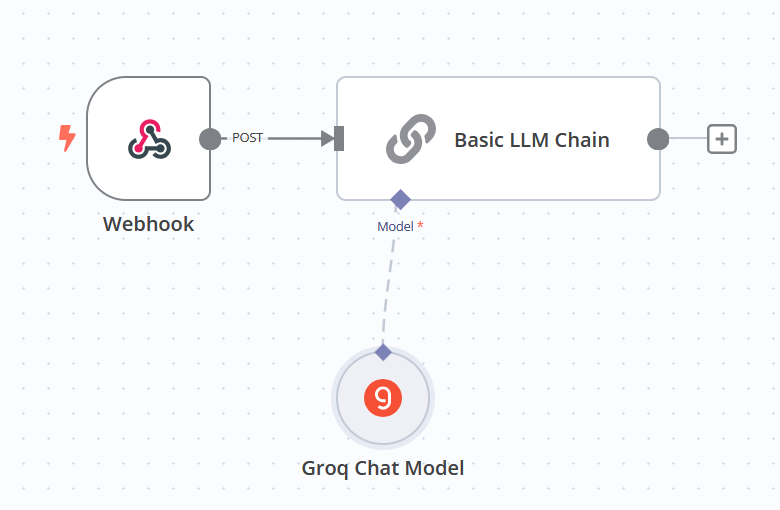
If it opens the properties screen, you can close it. The node adds some clutter (‘when chat message received’, the chatinput) that you can delete (along when “when clicking ‘Test workflow'”), we only need the Basic LLM Chain and end with this setup :
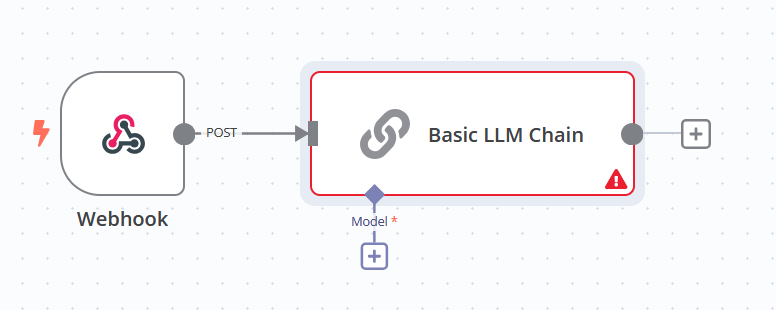
As you can see, you can attach a model at the bottom. Let’s add the Groq Chat Model.
Adding the Groq Chat Model to N8N
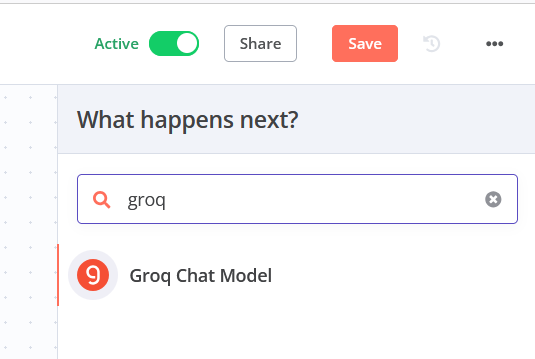
Search for groq in the nodes pane and add it to the canvas.
You will need to add your Groq credentials. That is your Groq API key.
Groq API key
You can get a free tier API key at Groq.com with a Groq AI developer account, you can find the link to it also on the Groq.com frontpage.
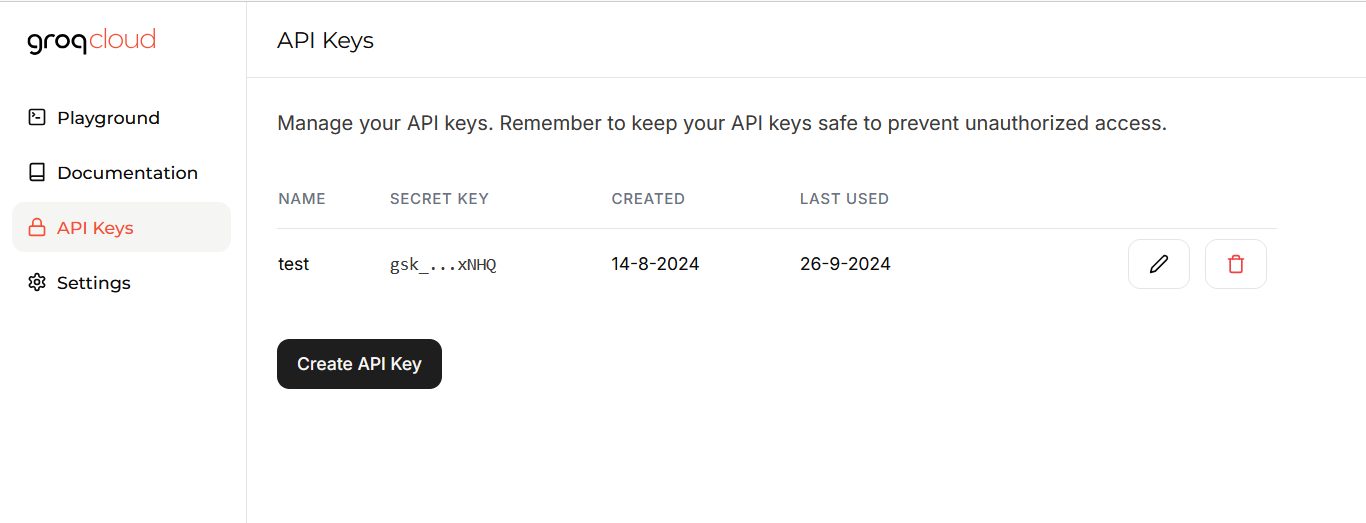
Once you registered you can access your own API keys in the GroqCloud environment
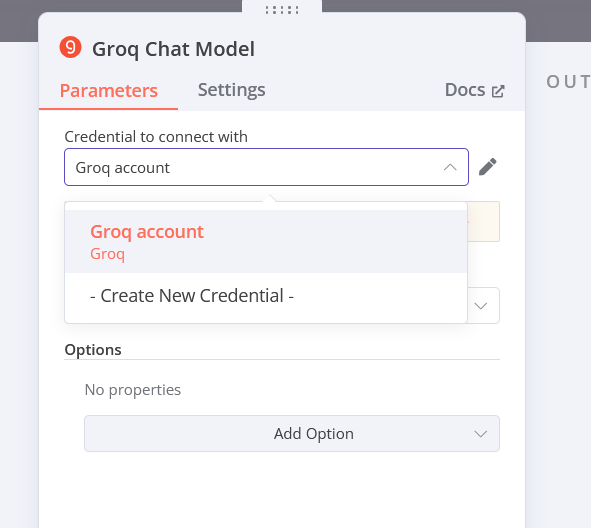
Then back at N8N, you can create new credentials for the Groq Chat Model by filling in your Groq API key.

Fill in your Groq API key and the application will test the connection, and if proper, you get a list of available models to choose from. You can pick the standard small llama 8b 8192 model.
Once you picked the model, click ‘back to canvas’.
Don’t forget to connect the model to the chain. Clickon the +-connector on the chain and drag it to the Groq Chat Model.

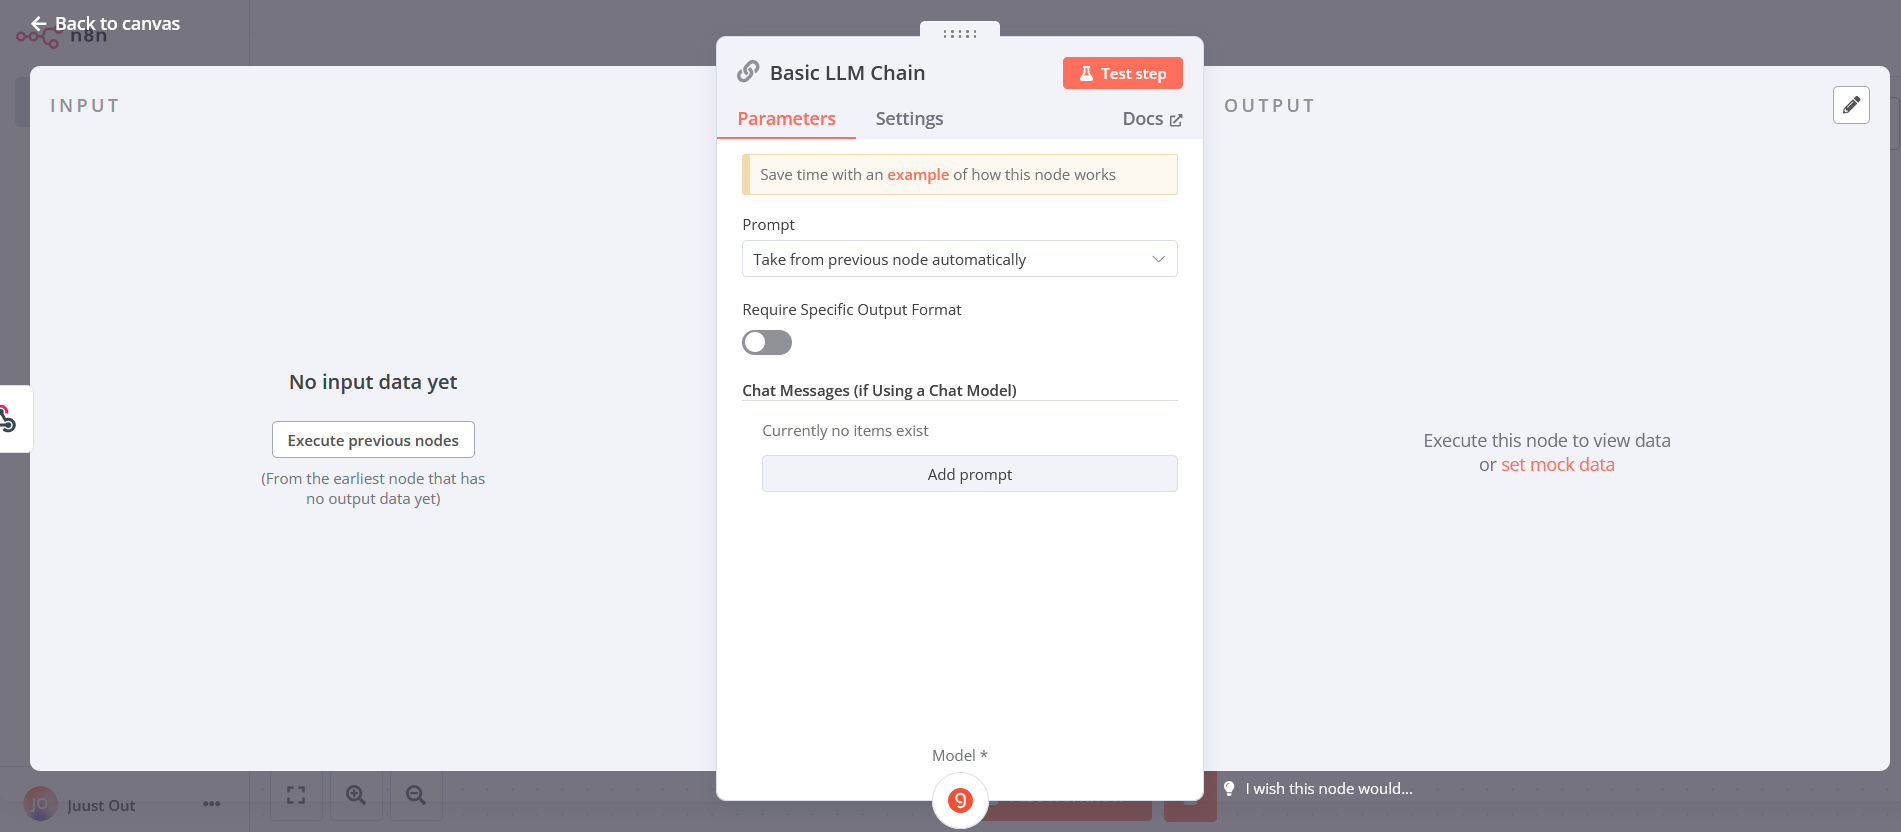
We can try to compose a prompt for the LLM. Click and open the Chain again and you may see it has no input data yet. The webhook has to run first.
Click ‘back to canvas’, and click on the webhook. Copy the test url to in Postman, then in N8N click ‘listen for test event’ and close the screen. Send a POST with Postman to the test url.
If you now click on the Basic LLM Chain in the canvas, it shows test data :
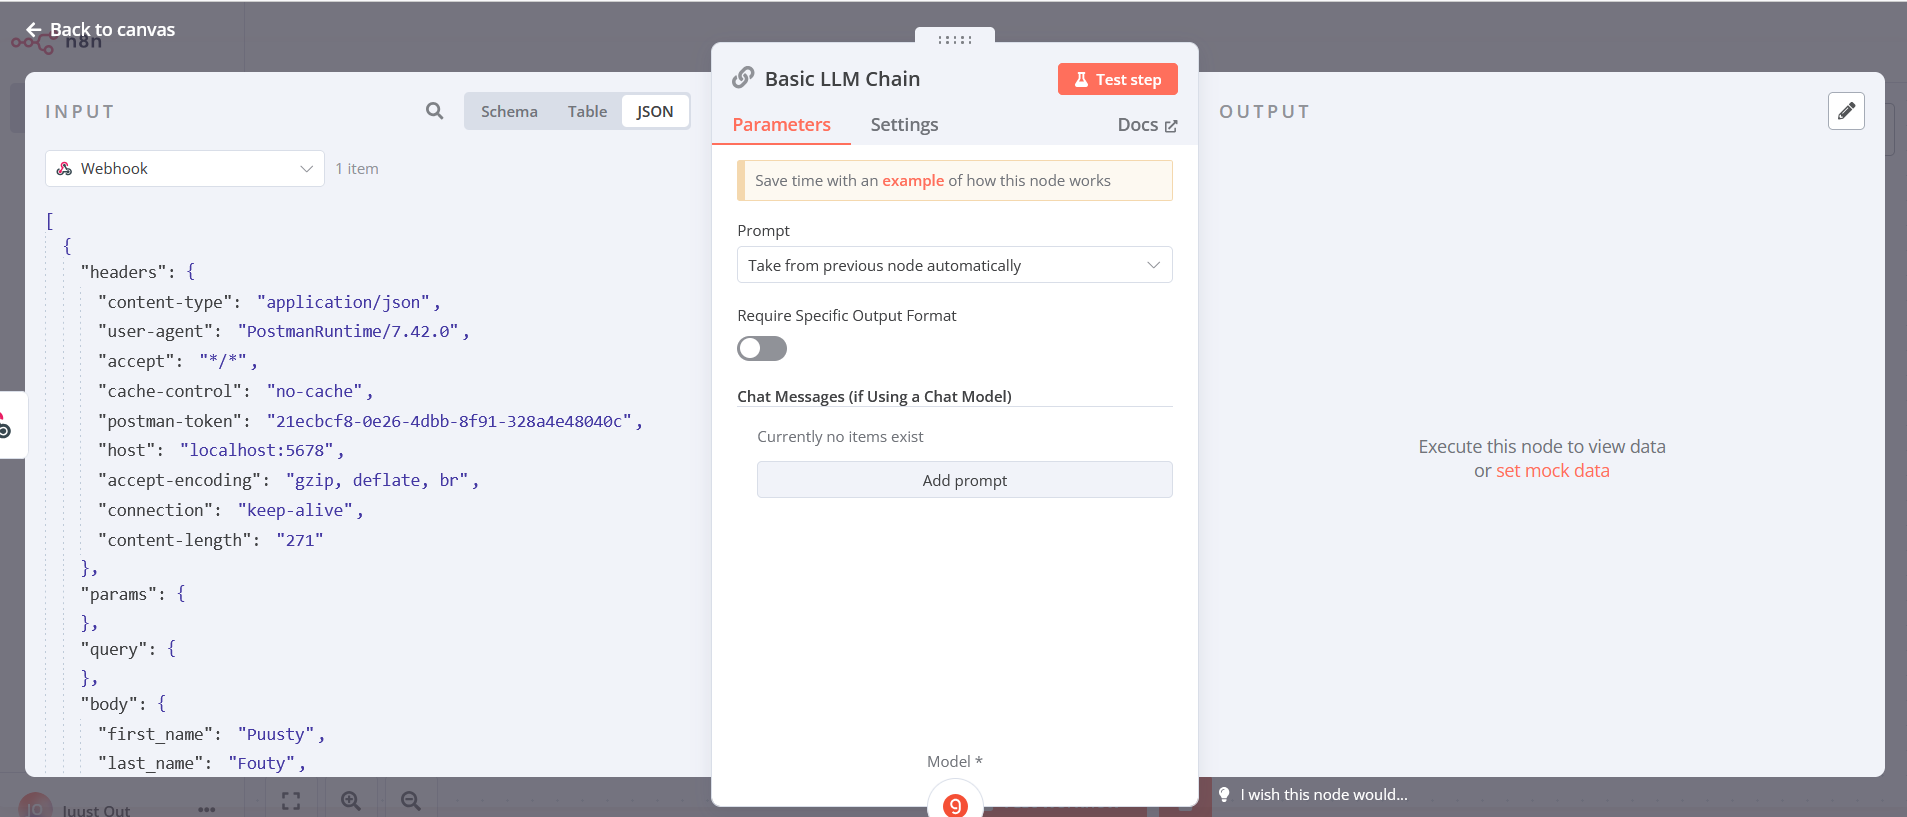
In oure case, the JSON body with ‘first_name’ that the webhook collected will be the variable input for the LLM prompt.
The Groq AI LLM Prompt
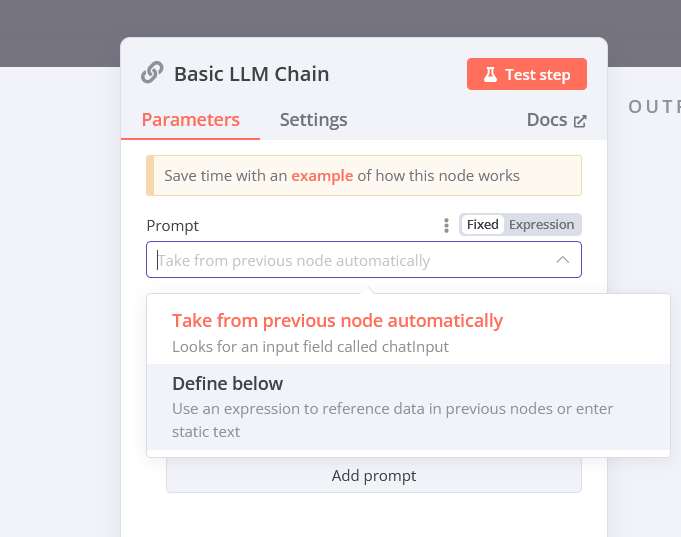
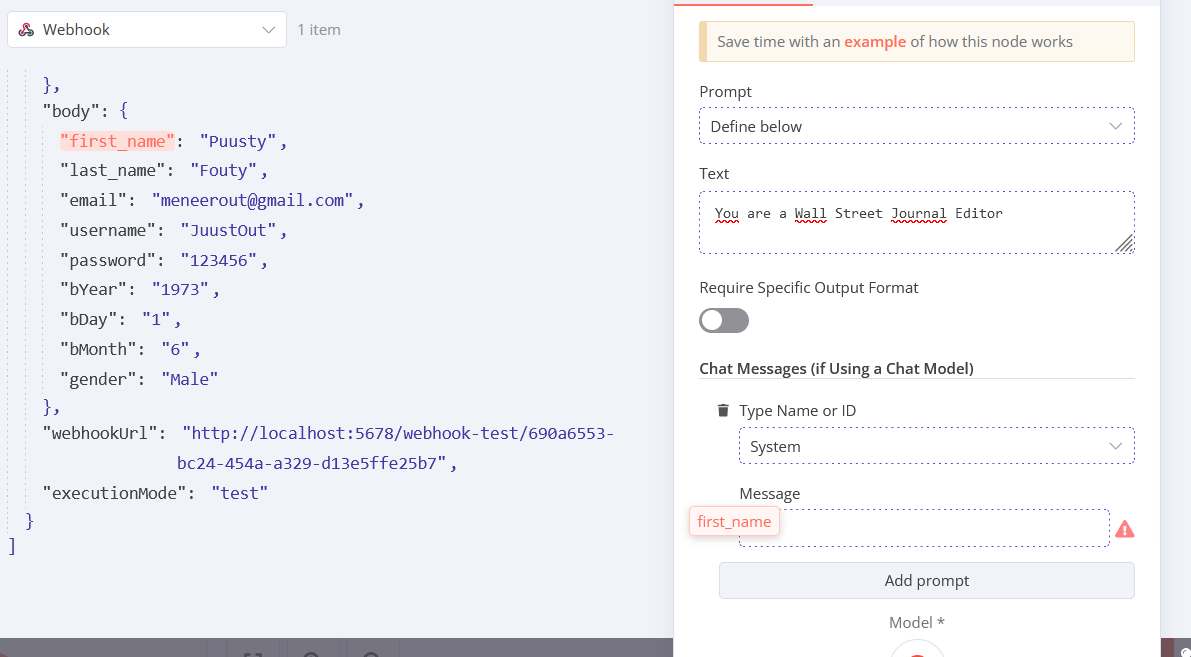
Let’s compose a prompt. Standard the Basic LLM Chain searches for “chatinput”, but we use custom JSON.
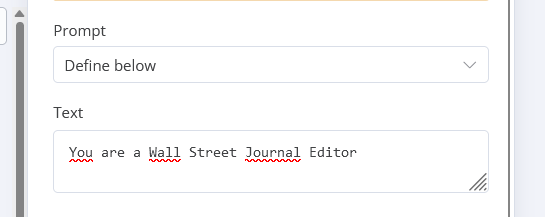
So with Prompt we pick ‘define below’.
Then as ‘text’ you can assign a role :
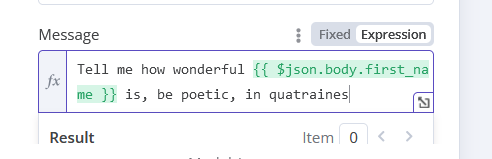
Once you defined the role, we are going to build a prompt with our JSON post first_name variable so we click ‘Add prompt’. In the Message field, we can drag “first_name” on the left pane from the JSON payload and drag it into the message
Then we can complete the prompt :
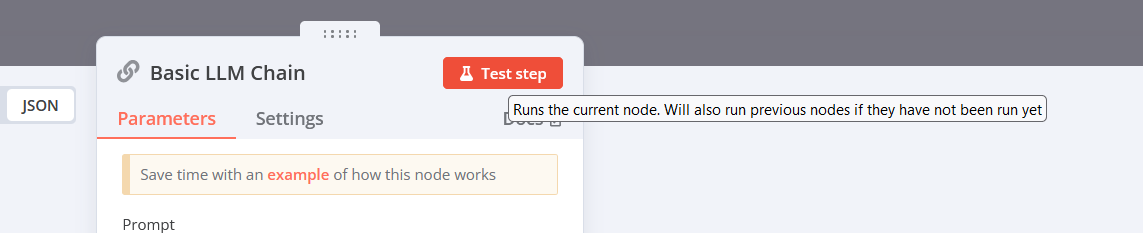
Now we can see if the LLM responds proper by clicking ‘Test step’ above :
…and it tells us how wonderful Puusty is in quatraines
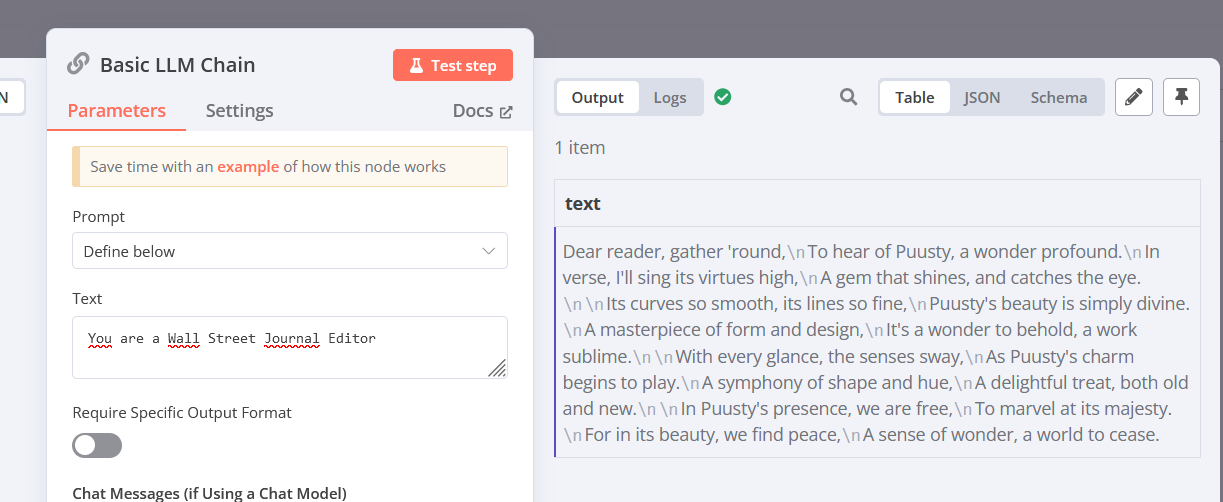
That works!
Connecting the WordPress blog
Now we can connect the WordPress blog.
Search for it in the nodes pane, click and add it to the canvas. Connect the WordPress node to the output of the Basic LLM Chain. Then click on the WordPress node to open it’s properties pane.
First we create credentials :
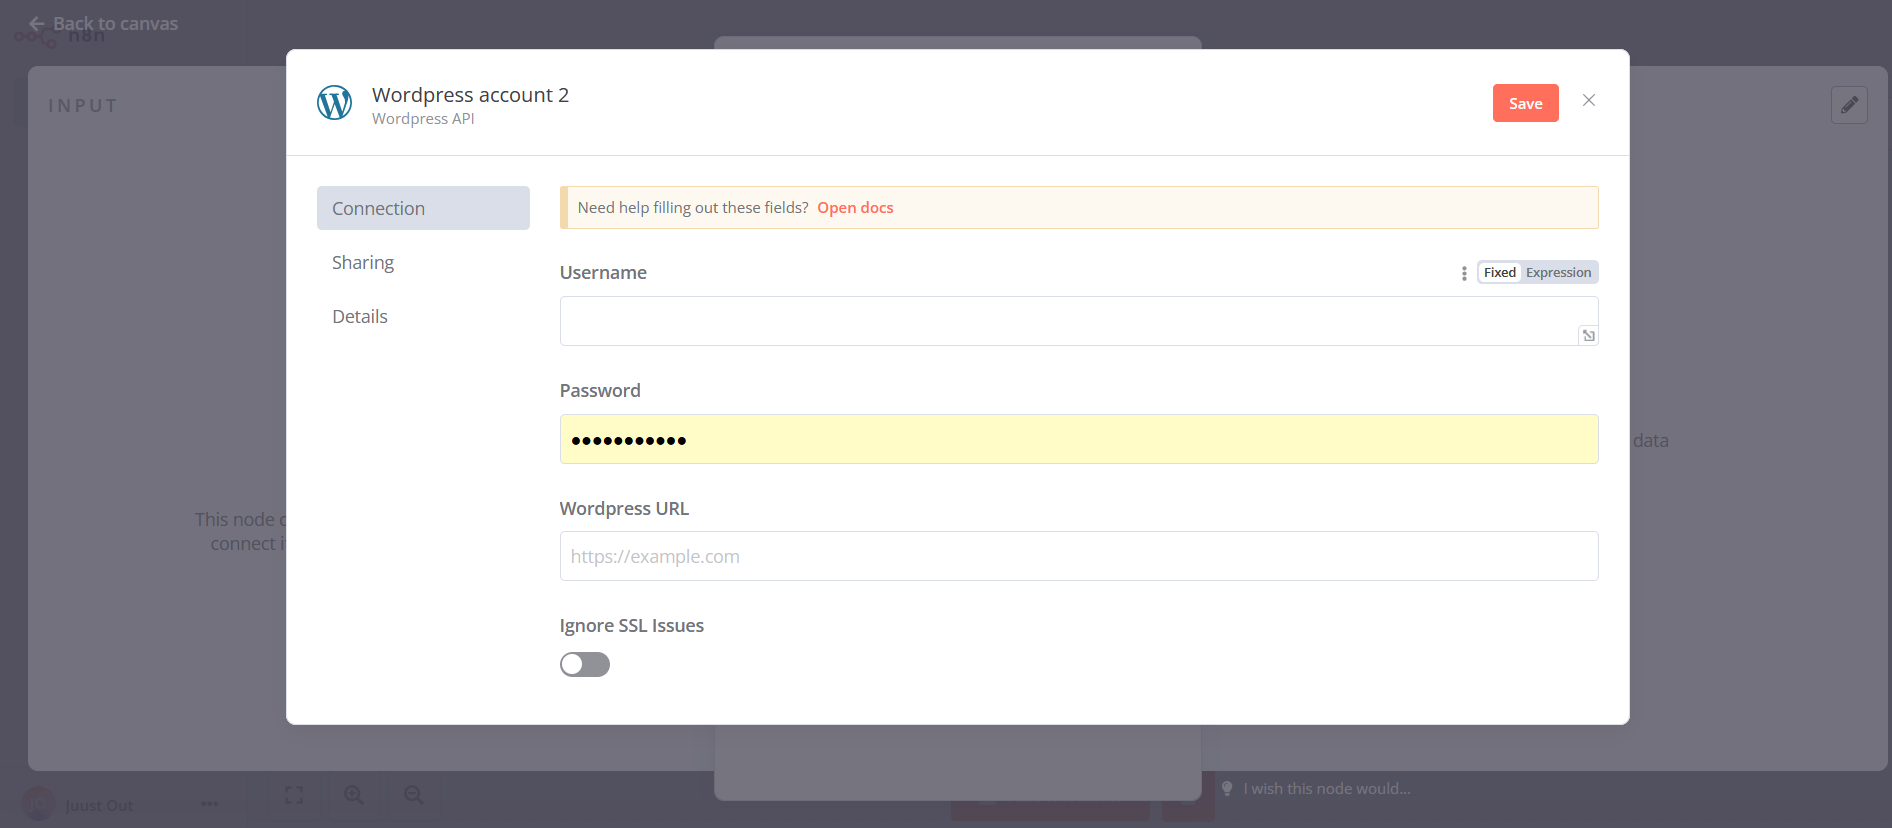
Use the WordPress username from the user profile. Do not use the email or screen name, use the username. As password, use an application password, you can create one in the WordPress user profile. Add the WordPress URL and Save it, and the app will test the connection.
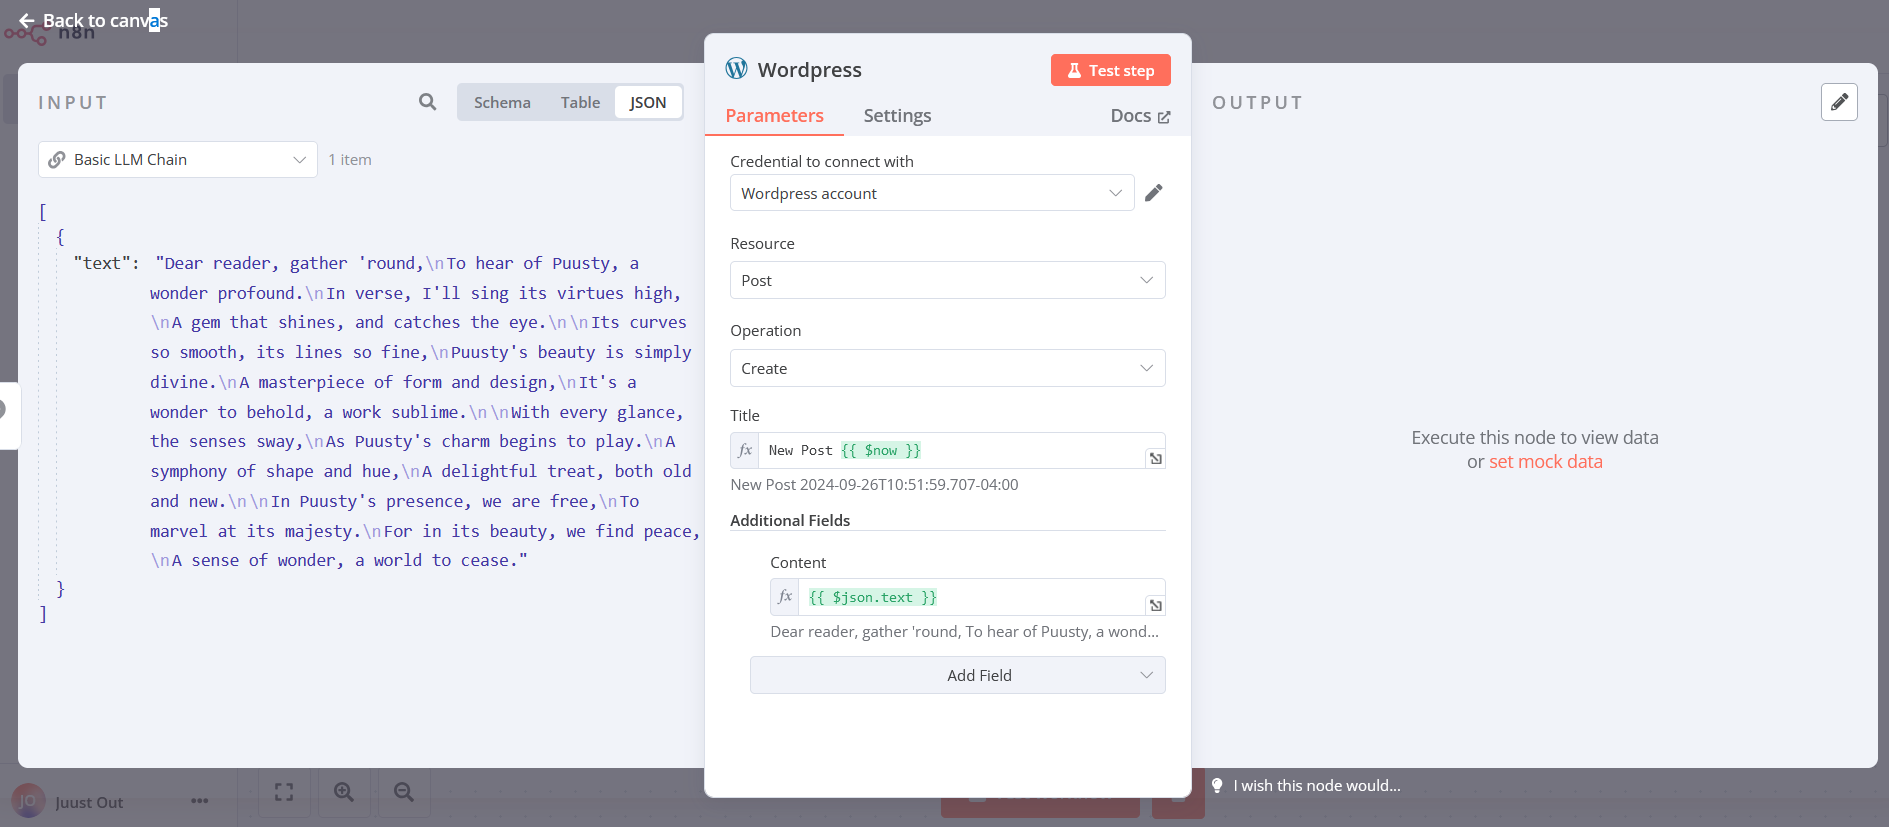
Once you have succesfully connected WordPress, and are back in the node properties screen, you can complete the setup.
The Resource is a post, the Operation is Create and for Title, for now, I picked “New Post {{ $now() }}” to create unique titles. You can use variables, also from the workflow. Rather important : pick as Additional Fields at least the Content field. That is where we add the LLM Output to the WordPress post.
Same as with the LLM proompt, you can drag “text” from the left pane into the Content box.
Now we can click ‘test step’ and see if it will post to WordPress. Aha, it says “node executed succesfully”.
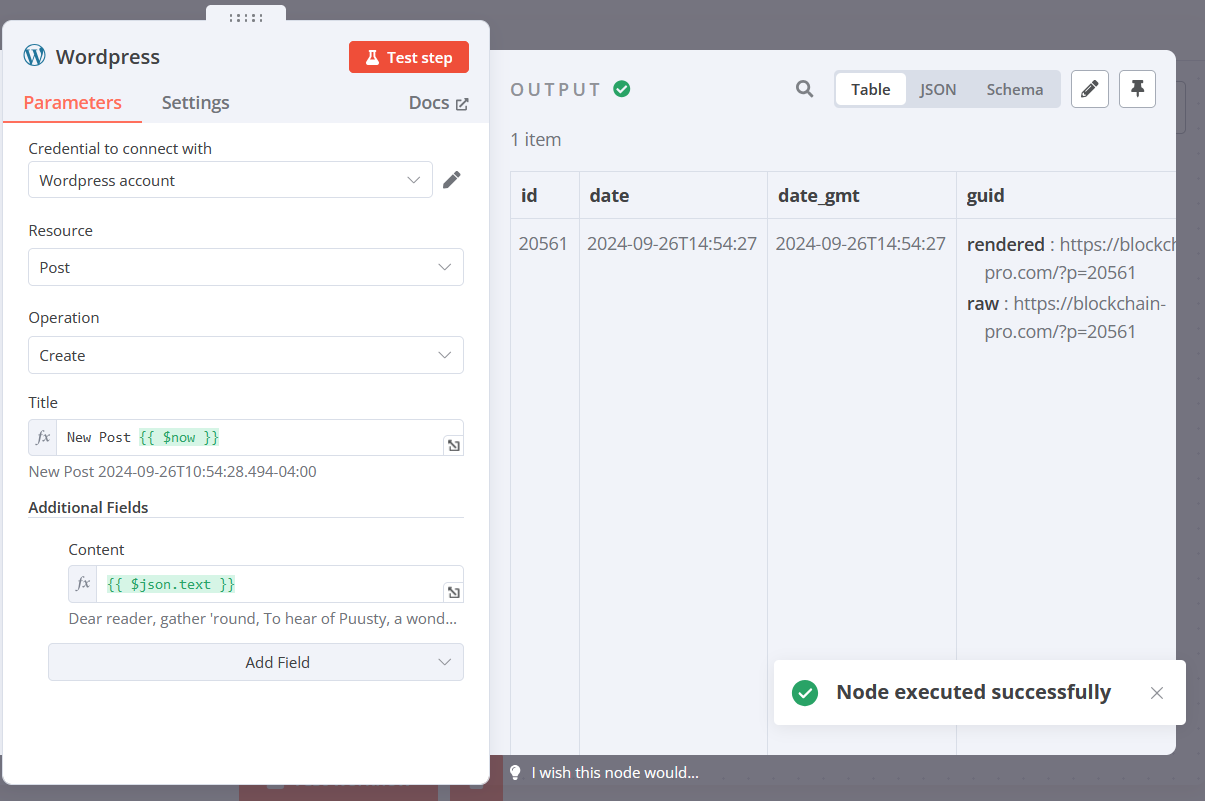
It posts the qautrain in normal formatting :

So for so good. We have this set up for now :
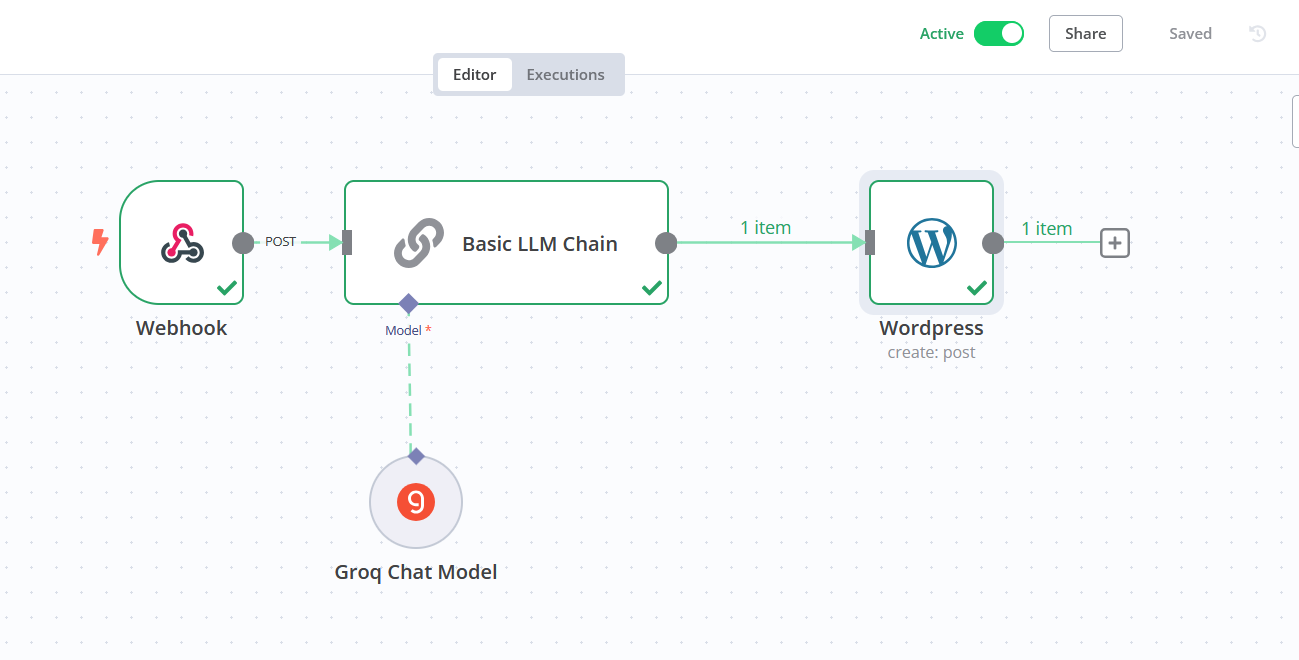
Well no, you have a slightly different screen : I activated the workflow !
Activation
We tested it front to back, step by step, now we want to see if it runs in production. So activate the workflow. If it fails for any reason you will get a red warning sign in the failing step and if you click the failing node, you get an indication of the issue.
Production !
We save the N8N workflow after (hopefully succesfully) activating the workflow. We have to make a new post with Postman to the webhook to see it in action. We copy the production url from the webhook node to Postman, and in Postman *of course* use “Elon Musk” as first_name.
Then we post to the webhook with Postman (drum roll) hurrah : it worked, an Ode to Elon Musk on my blog in five seconds !

An Ode To Elon Musk
Visionary of modern days,
Musk’s mind a spark that never fades,
From PayPal’s dawn to SpaceX’s rays,
He lights the way for humanity’s trades.With Tesla’s wheels, the world awakes,
Electric dreams, a sustainable makes,
A green revolution, hearts that breaks,
As fossil fuels, a dying ache.His Twitter voice, a clarion call,
A visionary’s passion, standing tall,
He speaks his mind, a truth to enthrall,
A leader’s courage, beyond them all.Through Mars and moon, his dreams unfold,
A cosmic path, a human gold,
For all the ages, his legacy told,
Elon Musk is a name that will never grow old.
Note: you don’t see any change in the N8N canvas interface, and that’s correct. N8N doesn’t report the data stream of production workflows to the screen, so you will have to check by outcome. But as you see above, it does actually process the new name, Elon Musk, and posts his quatrain to the blog.
Conclusion
That is a quick example of basic N8N workflow automation. What took me five to ten minutes before now takes me 5 seconds. I can post any term to that webhook and in five seconds I have an AI post on my news site. Even for noobs like me it is relatively easy.
